Sunday, 30 November 2014

Oh Christmas Tree


Welcome to DECEMBER , Wow not long to go now
until we are in holiday mode. This week its my
turn to decorate the tree. Our hop this week starts


I had this Idea of making my TREE all sparkly
and white, so I pulled out all of my glitters
and things all shiny


I used some of these items not all of them.


I started with the basic Tree, (can be seen here ) . First I used
Gesso to seal it , then painted it white using acrylic paint .


Once it was dry I used a clear gell medium to adhere the tiny
stars ,once I had done a portion with stars, I would cover the
area with Tim Holtz rock candy glitter.


I continued doing this until both pieces were covered on both
sides.

 
Now at this point every thing was going along fine, BUT!!!
I didn't think this idea through properly, as when I went to
slide the two , together it was tough going, because of the
extra thickness of the glitter .I had to use a little bit of
brute force lol but it did go together in the end.
 

 I also added some snow drifts to make it look
colder.
Here we have Snowy and Gwiny putting up the
lights


Thanks for visiting . Next you are of to Brendas
Blog HERE

Sunday, 23 November 2014

Its Nearly Christmas

 
Hi and welcome to this weeks hop, you should have started at
Imagine If, and arrived here from Tashes blog
This week I am making a double sided Christmas tag with
movement. One side has snow (glitter) and the other side
has bells.


I used x 3 Tags from Imagine If .I had saved the clear plastic covers
from packaging. I chose some images to used from

After chosseing my images, I put the glitter into the plastic and
glued the images to the back to hold the glitter in

Next i covered my tage with paper and cut out a square to the
exact size as the plastic cover . I then glued this to a blank tag 


Above you see the dimention

 
I did the same for the other tag, but this time i added tiny bells


I then glued this tag to the back of my glitter tag to mack
it double sided

 
To decorate  I used tiny pine cones, berries and matching ribbon

 
Brenda from the Imagine If Design Team Kindly sent me a
container full of these cute looking pine cone babies

 
I used tiny lettering on one side of my tag and Imagine If lettering
on the other side

 
I covered the word "JOY" with gold glitter to match the bells

 
Added the matching ribbon to the top, this could be used to tie
the tag to something like a tree or parcel, what ever you decided
on really.


The words say "jingle bells jingle bells " These 3 photos are to
show you the movement of the glitter


I kept to 3 main colours  brown gold and red


Thanks for coming to visit, your next hop is off to
Brenda's blog HERE

Sunday, 9 November 2014

Santas Sleigh


Welcome to this weeks blog hop, you should have come from
the Imagine If blog. This week I get to make Santa's sleigh

The sleigh comes in 4 pieces which means it is easy to
put together. You can paint it or cover it with paper as I have done.
I used one of the papers from Kaiser craft base coat
 Christmas collection  called flora I love the look it gave of
old worn wood, as below


Gold peal craft is great for Christmas stuff.

 
I positioned my paper so the dark line was along the sleigh ski.

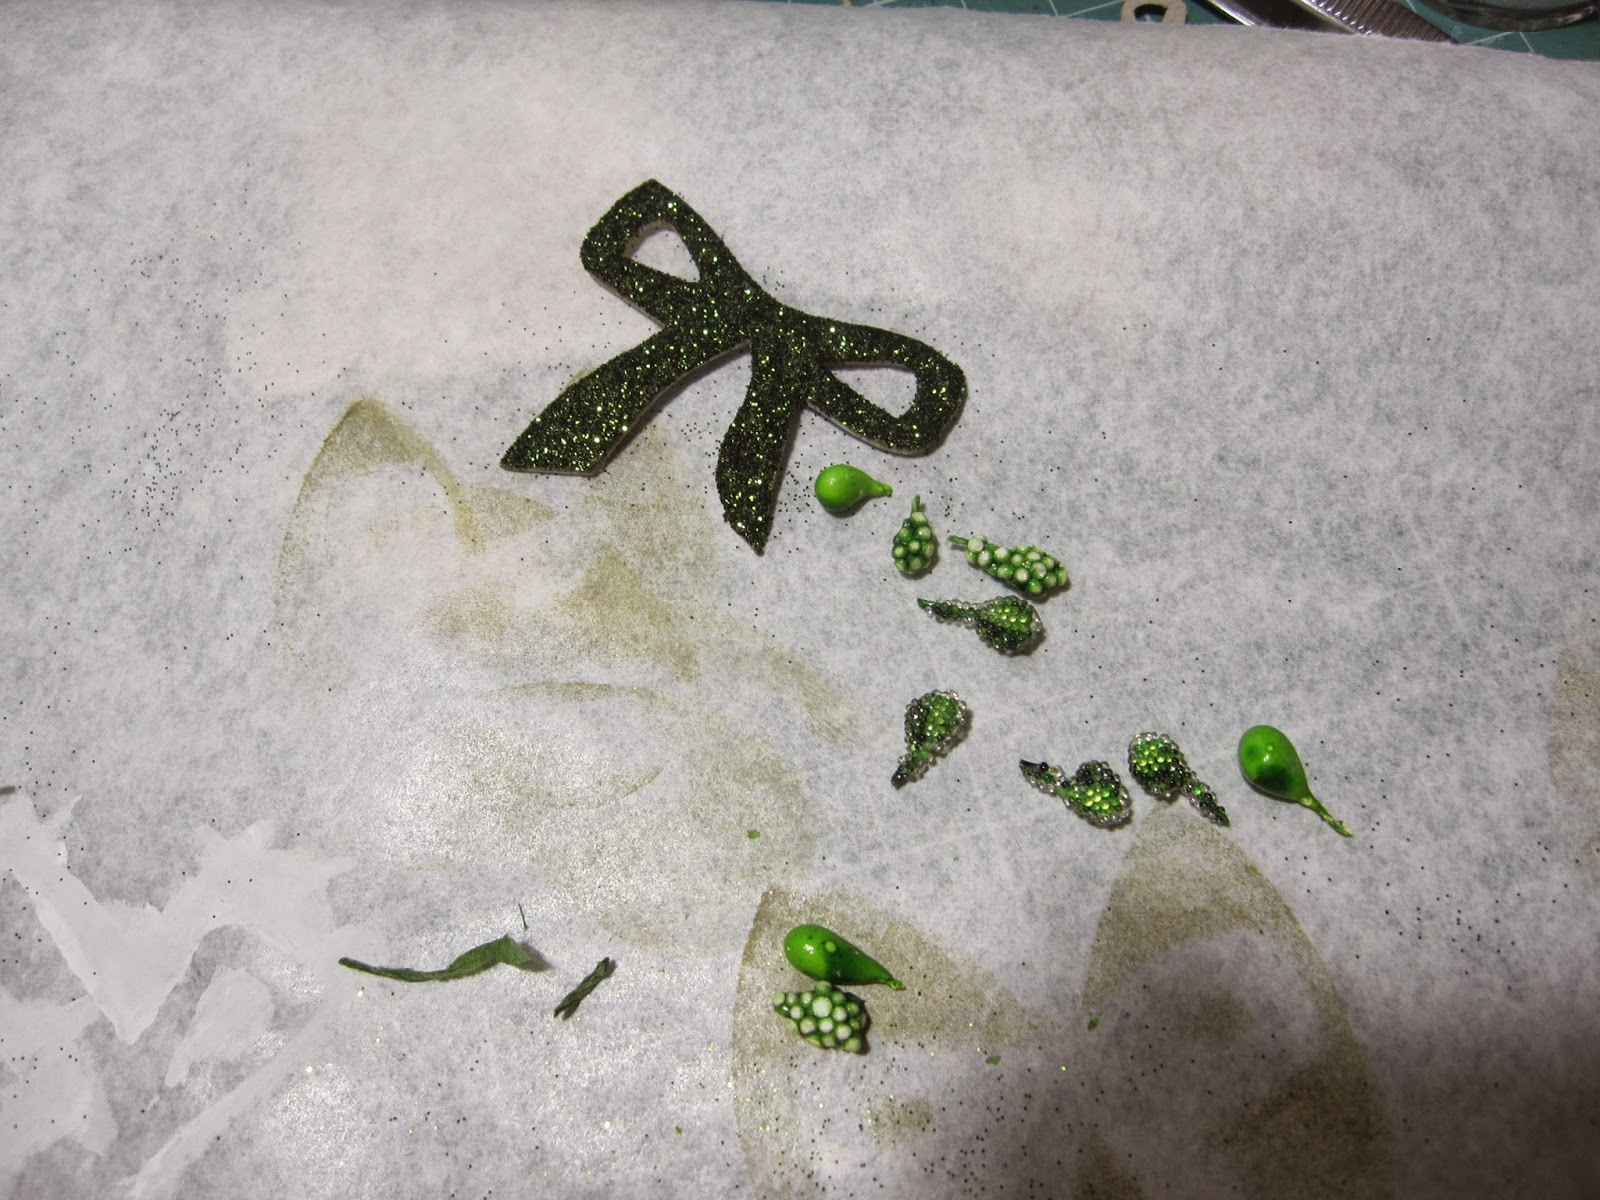
I gessoed the bows then covered with green glitter and arranged
some green berries in the Centre


And this is the finished bow, love how it come out

When using small chipboard things like swirls , bows etc
the best thing to use to get into those small places that your
ink edger's wont go is a black memento pen, this is a must have
in my stash

I used gold  peal craft corners to make a snow flake on the
back of Santa`s seat and along the sides


I hope you have fun and get inspired to make your own sleigh
they are so much fun. Thanks for visiting my blog, your next
stop is at Brenda's blog :)

Sunday, 2 November 2014

Christmas layout


WOW November all ready, I love Christmas, what about you?
This week at Imagine If  we have started our Christmas box\
of GOODIES .... yes, with a blog hop , you should have started
at the Imagine if blog and come from Lillian's blog
 
 
I like to get started with my papers, then I get a bunch of
chipboard that relates to or works with my page,I
play around with it until it works for me.
The Santa on the sled is very cool, you can find it HERE

 
Even though we don't get snow in Auckland, I
still like to have snow flakes on my page
Snow flaks can be found HERE
see what I did to this one next

 
I Sealed it with gesso first then used fake snow on the top, this
gives dimension and sparkle

 
Next was the bow, and yes, I even got some punches out :)

 
I used the bow of a gift box set
  HERE  then covered it with matching paper

 
Added some twine . Love the deer to, its so delicate
 
 
I cant remember what this squiggly is called, but I cut
it in two and added half to top and half to the bottom
of the page


I love Christmas, it brings back many happy memories as well
as giving me an excuse to put up decorations and lights :)

Have a good week , not long to go till we are on holiday.
Thanks for visiting :)

Next DT Blog is Brenda's Blog