Tuesday, 17 March 2015

Key to my heart

 
This week I made a anniversary card for my husband
The heart is is embossed and painted with metallic pearl paint
then I went over the top and picked up the swirls with a soft red ink .


This butterfly is awesome, I just love it. I painted this white,
I then put glue on the wings but stopped  before the center (body )
part, I then covered it with Tim Holts distressed glitter, the sparkle
is amazing. The center or body of the butterfly I covered with
a darker colour .

 
Here you can see a close up of the embossing in the heart and also
in the key hole which I painted gold.
The rose has a little bit of sparkle to .You can find loads of
fantastic chip board items at Imagine If  Also
cheack out there blog HERE and the new competition.
 
 
Thanks for visiting my blog,

Wednesday, 4 March 2015

Book Ends


Welcome to this weeks post, you are going to love this project.
For some reason bloger is being uncooperative and decided
to reverse my photos, so we are going from finished to starting.


My project is book ends from Imagine If I went for a vintage look


The Tops are cut in a beautiful delicate vine  pattern 


Here is one of the little draws, the handle end
is also mdf, which makes it very strong, this
means your handle will never fall of.


Here's a tip, when glueing your bottom together , use rubber bands
to keep the pressure on so they stay tightly squeezed together well  it dry's 


Here is a close up of the aged look


This is the front of the draw


This is looking from the bottom, as you can see its
very sturdy build, it has two reinforcing beams


To get the old cracked paint look I painted the panels a
very dark brown, next I coated with crackle medium, then 
once this is totally dry I painted vintage cream over the top. 


I covered the bottom in once of the cigar papers ,I love
this range, it works so well for vintage things.


Here I have the bottom all ready to glue


 I am very pleased with the finished  look,
what I love most about MDF products is that
you can mix and match your designs to match
a room. This could be designed to look good
in a boy or girls room simply boy changing this to
camo or pretty bright pink and white. I'm looking
forward to seeing what others do with this kit.
Happy crafting
stay cool

And don't forget to keep checking out the
Imagine if site as Jo is adding a few new items
every month :)


Tuesday, 24 February 2015

Custom Made


Hi, I decided to take part in Ali Edwards 2015 one little word,
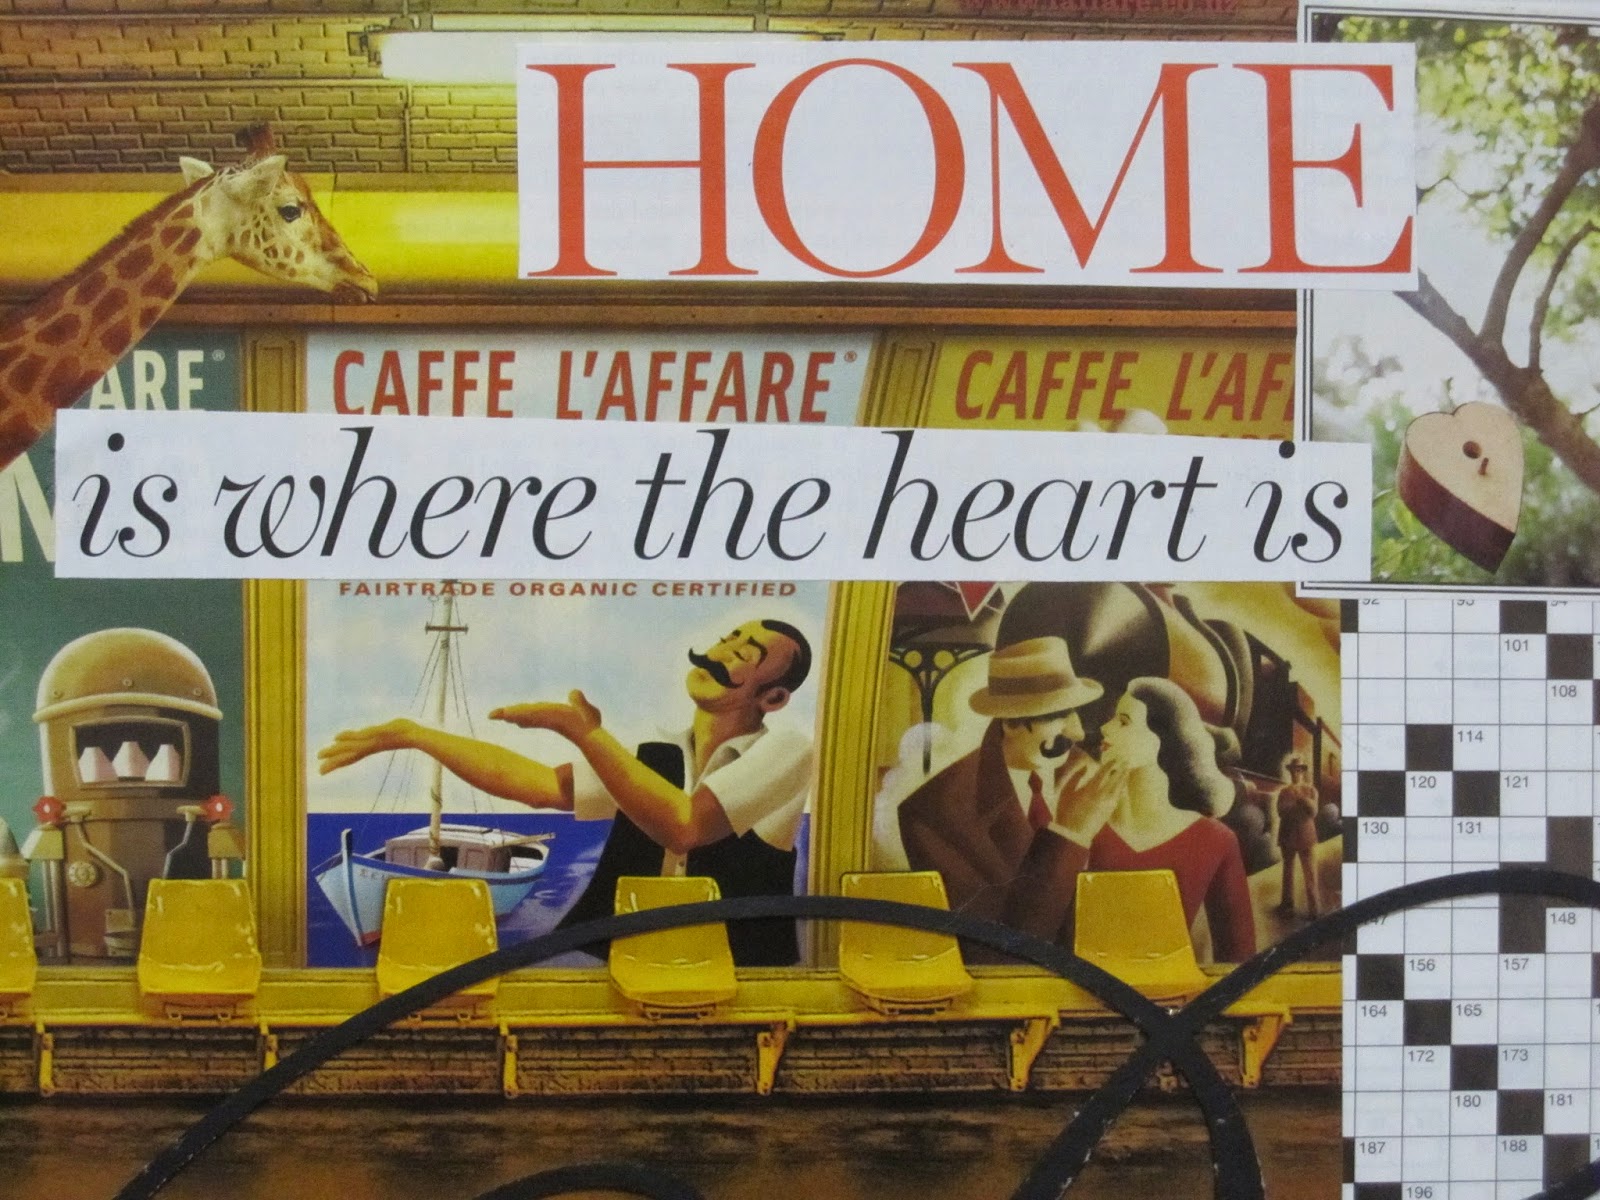
my word is BUILD , I created a vision board so I can look at
my word when ever I sit at my craft desk.


My canvas is 18inch x 18inch . so I asked Jo from Imagine If
if she could cut the word BUILD large and in a script font.
Here is the finished item. I love this and wanted to share
so you can see what you can do with a different size or design
of your own. 


So I started with a canvas covered with primer. I then collected
so old and a couple of new magazines and proceeded to cut
out what ever called out to me.


 I then arranged all the cut outs and glued down


I love this, it reminds me to focus on building a life of health,
happiness and love .
So remember you don't have to follow the crowd you can do
your own thing , just contact Jo at Imagine If  easy as that.

Here are the other ones I got done by Imagine If


Thanks for taking the time to visit my blog.
Have a fabulous day
 

Friday, 30 January 2015

so cute


With all the hot weather we have been having, im sure there
are many photos out there taken at the beach.
 
The papers are from the Kaiser range, Sandy Toes.
The tittle ,seahorse and word "boy" are from Imagine If


Its been so hot I forgot to take photos as I went, so sorry about that.
Imagine If have some fabulous things to add to your layout, like the
sea horse I have used ,see them HERE

The journaling will be done by his mummy.

There is also a prize up for grabs for anyone that comments on my
blog, so don't forget to comment :) Thanks for visiting


Tuesday, 13 January 2015

WELCOME TO 2015

Hi, I hope 2015 has started out as you wanted, the weather
over Christmas and new year has been amazing hasn't it!
 
I made this little pixie house when I was on leave, using a 3D ,MDF box house
From Imagine If , see there other fantastic MDF products


I covered it on the out side with paper .
 

And painted the inside

Covered the floor with a wood look paper

For the windows I cut a over lay to size and glued it to the window


Next I used a cake board  for the base
 
This strip of chipboard fence , I trimmed it down and painted it
to use as a ladder

I traced where the house will sit as I wanted it smothe

Using course texture paste I covered the rest, to give
a rough look

I run the ladder/fence through the cuttle bug

Once the texture paste had dried ,I painted it with gesso


I didn't have the right green so mixed two together to give a
uneven color green 

I found a strong twig to use as my tree


I drilled a hole for it to fit into

Put it all together, I added a inside light and some fairy lights to the tree

Below is the night time photos
 
 
It looks pretty cool at night, makes a good night light :)
 
Thanks for taking the time to visit and check out Imagine Ifs very
cool products. Stay tuned in as Jo has a few very cool new things
coming up this year.......... My lips are sealed hehehehe
 
You can see there Blog HERE
And there face book page HERE


Sunday, 11 January 2015

One Little Word


This Year I am doing Ali Edwards "One Little Word"


I have combined my cover page with the January challenge
at 123get scrappy. I went with x3 across (gems, stamped image and
3 x patterned papers .Above are the gems.


Above is my stamped image


 Below  are 3 x patterned papers

Thanks for visiting.